How To… Create a Scalloped Trim With Rick-Rack
Can you believe I only used rick-rack for the first time about six months ago?
I know! It’s a really versatile trim that can add a fun wink with a vintage twist to a garment. I have used it stitched down on top of a garment, but I have to admit, my favorite way to use it is to create a scalloped trim on a cuff and collar.

See that yellow trim on my collar?
I just think it makes a garment look so finished, much like using piping on a seam can, but with a bit more whimsy than piping.
If you’ve never used rick-rack in this way, it can take a moment to wrap your head around how it works, but it’s really simple. I took pictures of the process (awhile ago… if you can’t tell from the Halloween fabric!)

As you can see, I’ve used an orange rick-rack to create a trim on my collar and cuffs for this dress!
Supplies Needed:
-Clear ruler with each eighth of an inch marked (like this one! https://amzn.to/3GgUfbx )
-rick-rack trim (you can use any size, but I like the Medium/ .5” size; I think the Baby rick-rack would get lost in your seam, and you'll have to sew REALLY precisely, and the Jumbo will make it difficult to deal with any corners) (Here is a link to the trim I’m talking about in black, but it’s of course available in many colors: https://amzn.to/3i74E1u)
-Thread to match your trim
-Pencil (I like a mechanical pencil for the ability to create a really precise and narrow line; a medium lead size works well, as there’s a bit of drag when writing on fabric that may break really narrow lead. Here’s an example of a mechanical pencil with a medium-sized point: https://amzn.to/3vDMEPa)
-Pins (I like having a longer pin length and a larger head— I personally find them easier to work with, and easier to take out quickly as I’m sewing: https://amzn.to/3GCOzKi)
-Your fabric, of course!
Prep:
Get your pattern pieces ready to sew up to the point where you would normally sew the outer to the inner (lining, facing, lower collar, whatever)— interface them if necessary, and stitch any seams like a shoulder seam, etc…
Get your rick-rack off of the card and give it a light iron (you can use a medium-high setting and a bit of steam, but too much heat may melt it) to get the creases out of it from having been folded.
Step 1:
Use your ruler and pencil to mark faint dashes at 5/8 of an inch (or whatever your seam allowance is) from the edge of the fabric.
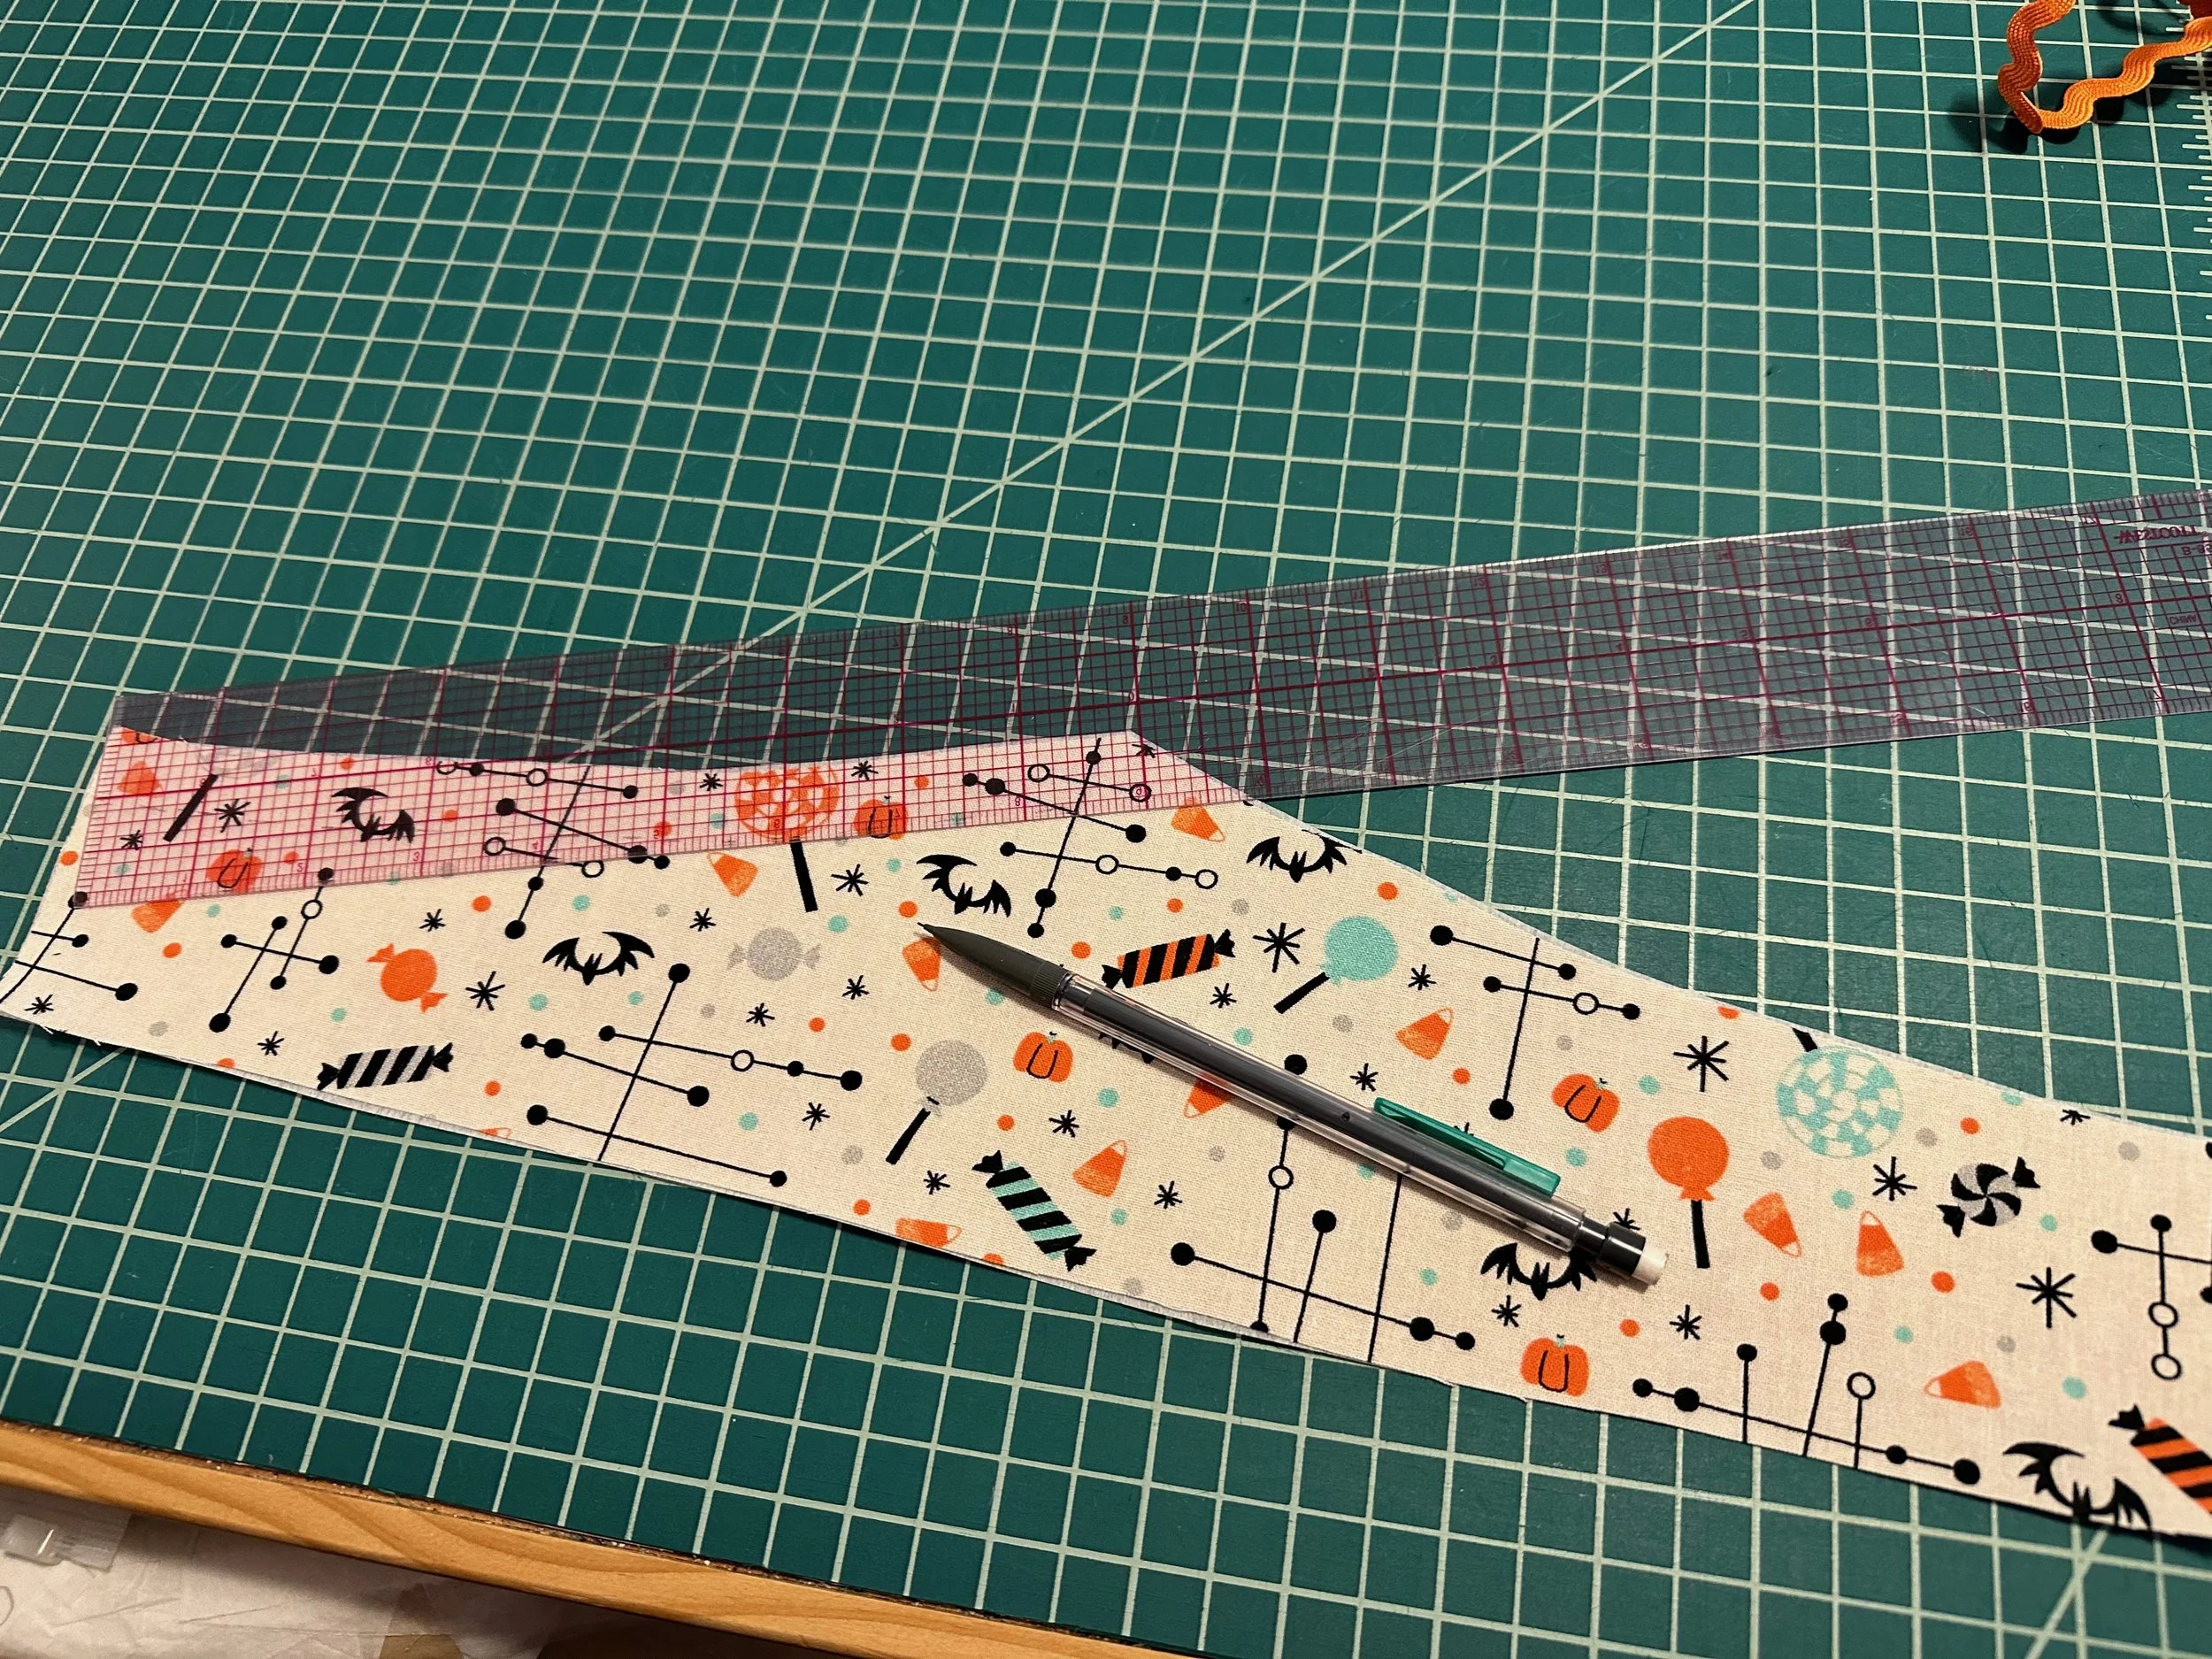
I like the dashes to cross at any points, as it’s easier to follow than just creating a dot or single mark.

Step 2:
Pin your rick-rack to the outer piece of fabric (as opposed to a lining or facing, or if you’re working on a cuff or collar, you’ll want to stitch to the upper piece, not the piece that faces in) so the center of the trim aligns with your pencil marks; you want your stitching line to follow the middle of the trim.

If you have any points, I prefer cutting the trim instead of trying to fold or bend it around the curve. That way you can get a more sharp corner.
Step 3:
Stitch your rick-rack down! You’ll want to stitch right in the center of the trim, so that your stitches don’t show in the dips of the wave.

Step 4:
When you go to sew your two pieces of fabric together (upper collar to lower collar, outer bodice to lining or facing, etc…) make sure that you pin it so your fabric with the rick-rack stitched to it is facing up— you want to be able to see the stitching line that attaches the trim to the fabric as you sew the pieces together.

Step 5:
Follow your previous stitching line when you sew the two pieces together. This will ensure that your stitching line to attach the trim doesn’t show, as it is now the seam. You’ll still want to use the thread that matches your trim, rather than thread that matches your fabric.

Step 6:
Trim your corners like you normally would.

Grade your seam allowances— I am careful not to catch the trim when I trim as rick-rack frays like crazy and I don’t want the trim starting to fall apart!

I do not understitch when I use rick-rack (or piping).
Step 7:
Flip your pieces right-side out. If you have trouble getting the corners nice and crisp, don’t pull on the rick-rack— it may come out from the seam as it is somewhat loosely woven and prone to fraying. In general, I like to use a pin to catch the tucked-in corner and then use the pin to lift that bit out.
Step 8:
Press, rolling the lining to the back. Even without understitching, the trim will help the lining to not roll forward/ not allow any little bits of the lining show.

Et, voila! You have successfully used your rick-rack to create a beautiful scalloped edge.